Choosing your first stack
If you're starting out with infrastructure as code, learn one tool, not two. Here's what that looks like, and a five-minute way to try it on your own machine.
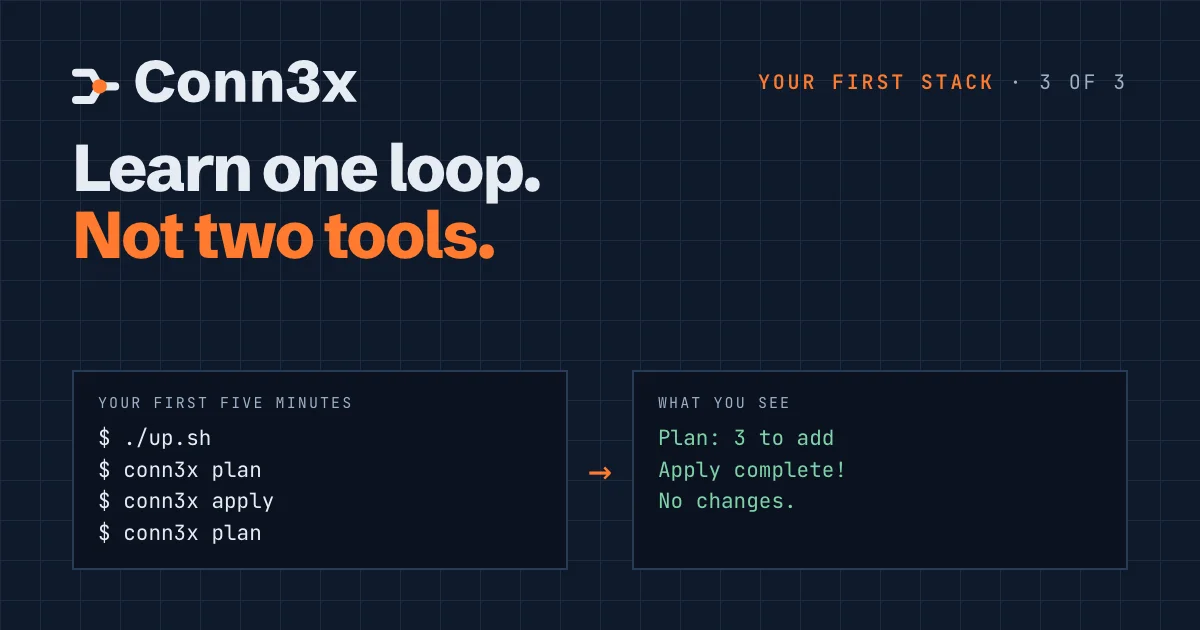
The usual advice for someone new to infrastructure as code is a reading list. Learn Terraform to create servers, then Ansible to set them up, then the glue that passes one’s output to the other. Two languages, two ways of thinking about state, and a seam between them that nobody quite owns.
You can skip the seam. This is the last of three short posts for the readers from Why Conn3x is one tool, and it’s for you if you haven’t picked a stack yet.
Learn one loop
Everything in Conn3x follows the same four moves, whether you’re creating a server in a cloud or putting a config file on one:
- Write what you want, in HCL.
- Plan. Conn3x reads what’s really there and shows the difference.
- Apply the plan.
- Plan again. It should say
No changes.That’s how you know it worked.
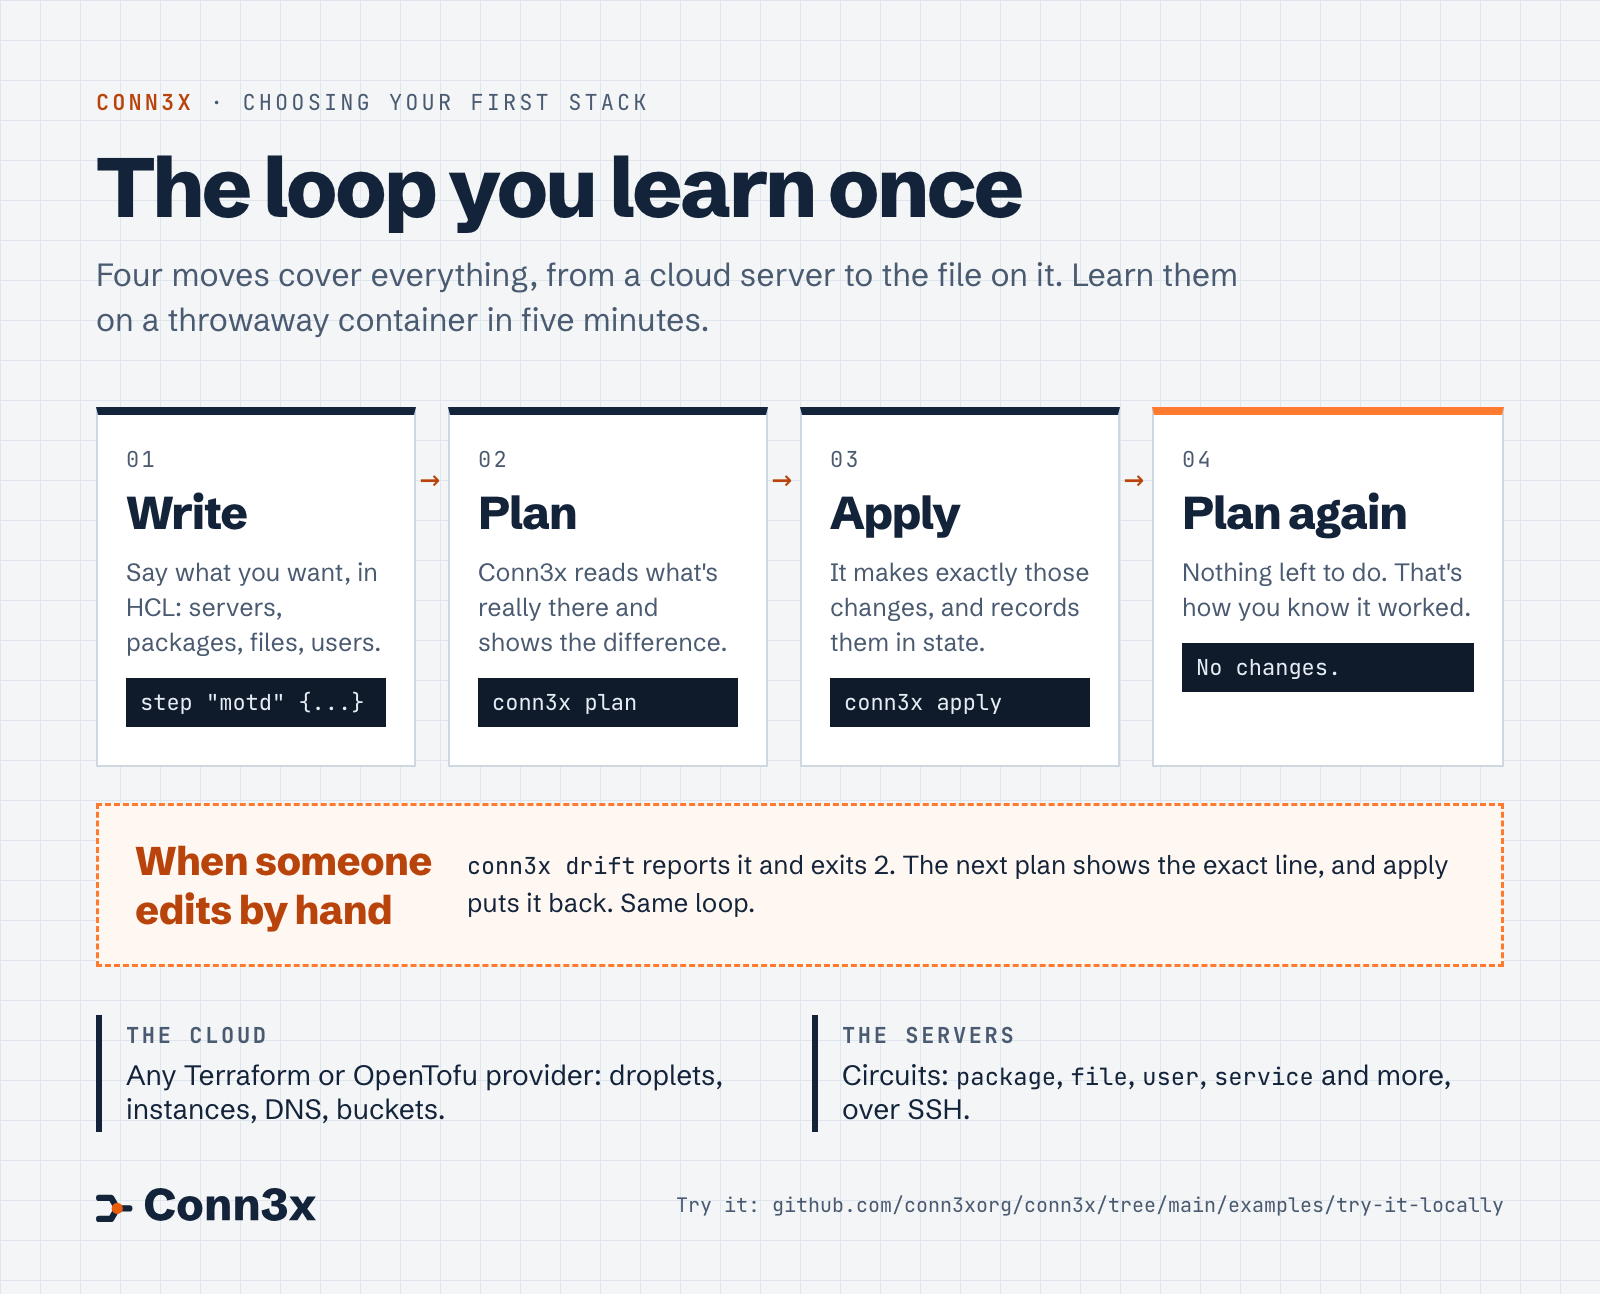
Read the loop as text
- Write what you want in HCL: servers, packages, files, users.
- Plan. Conn3x reads what’s really there and shows the difference.
- Apply. It makes exactly those changes and records them in state.
- Plan again. It says
No changes., which is how you know it worked.
When someone edits a server by hand, conn3x drift reports it and exits 2; the next plan shows the exact line and apply puts it back. The same loop covers the cloud, through any Terraform or OpenTofu provider, and the servers, through circuits over SSH.
Learn that loop once and it carries you a long way. The HCL you write is the same language Terraform and OpenTofu use, so every provider and module in their registries works, and what you learn transfers if you ever work somewhere that uses them.
Try it in five minutes
You don’t need a cloud account or a spare server. The try-it-locally example starts a throwaway Rocky Linux container on your own machine with Podman or Docker, and Conn3x configures it like any other server:
brew install conn3xorg/tap/conn3x
git clone https://github.com/conn3xorg/conn3x.git
cd conn3x/examples/try-it-locally
./up.sh
conn3x init
conn3x plan
conn3x apply
conn3x drift catching it.The circuit in that directory is short enough to read in one go:
circuit "try" {
  hosts = { box = "127.0.0.1" }

  ssh {
    port             = 2222
    user             = "root"
    private_key_file = "./id_ed25519"
    known_hosts_file = "./known_hosts"
  }

  step "tools" {
    package {
      name = "tree"
    }
  }

  step "deploy_user" {
    user {
      name  = "deploy"
      shell = "/bin/bash"
    }
  }

  step "motd" {
    file {
      path    = "/etc/motd"
      content = "Hello from ${each.key}, set up by Conn3x.\n"
    }
  }
}
A circuit is a set of steps for a group of hosts. Each step uses one module, steps run in the order you write them, and each.key is the host’s name. That’s most of what there is to learn before you’re useful.
Then break it on purpose
Change the server behind Conn3x’s back, the way someone will one day:
ssh -p 2222 -i id_ed25519 -o UserKnownHostsFile=known_hosts root@127.0.0.1 'echo edited > /etc/motd'
conn3x drift
drift reports the edited file and exits 2. conn3x plan shows the exact line that changed, and conn3x apply puts it back. Tracking what changed by hand, and putting it back, is a skill most people pick up after their first outage. Here you can practise it on day one.
Where to go next
When you’re ready for a real server, point hosts at its address. When you want the server created too, add a cloud provider’s resource beside the circuit and let one plan do both; the DigitalOcean example shows how. Get started walks through a real server in about fifteen minutes.
And if something in this loop confused you, that’s useful to us. Ask in Discussions; a question from someone new is how the docs get better.